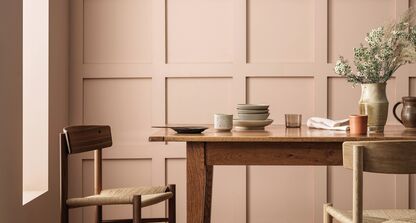

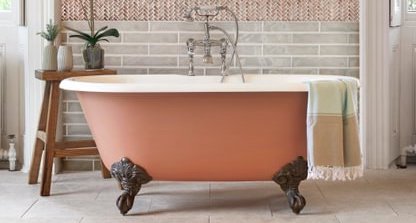

How to prepare a wall for painting
Rule 1: Use Samples To Avoid Surprise
All our paint colours are available as tester pots to ensure you get the exact colour you’re expecting. To get the most from a tester pot, paint a piece of white card and move it around the room, so you can see how it looks in different lights. Make sure you also do this at different times of the day, as paint will look different in daylight versus how it does under electric lights.
Rule 2: Work Out What You’ll Need
There’s nothing worse than running out of paint halfway through a job, but we can help there. To calculate how much you’ll need, we just need to know the rough dimensions of your walls and how many windows and doors in the room to subtract. It’s always good to have a little too much, so you can touch up any scuff marks later on.
Rule 3: Preparation Is Key
To ensure good coverage and a neat finish, it’s worth putting in the effort to prepare a wall for painting before you crack open the tin – as tempting as it might be to get going.
Always sand and degrease the area you’re painting to give the paint the best surface to adhere to. Surfaces should be free of any loose paint, oil, grease and varnish before you begin.
Pop on some gloves and gently wash the area to be painted with a mild solution of soapy water, giving one last rinse with clean water to remove any soap residue. Allow the area to be painted to dry thoroughly.
Inspect the walls for any cracks or holes that will need to be filled. Using a good quality filler, apply this to the cracks, leaving a smooth finish, and sand lightly once dry. You might need to repeat this step for larger cracks. Brush away all the dust.
Fresh plaster needs a little more time to prepare, however nice and smooth it looks. It’s a ‘thirsty’ surface, so use a primer before painting and allow it to dry before you start.
Run a good quality masking tape around the areas you need to cut in, such as walls and the ceiling, door frames, switches and windows. This can be a fiddly job, but it’s worth it in the long run and so satisfying to peel off when you’re finished.
Get all your tools ready to hand, including a few clean cloths to wipe up any drips. Other useful things to have at hand include:
- Clean and dry rollers
- A handful of different sized brushes
- Good quality masking tape
- Dustsheets
- Ladders
- Clean cloths/rags
- An old wooden spoon
Rule 4: Make Space
Your job will be made far more difficult if you don’t allow enough space. Move any furniture into the middle of the room where possible and cover with old sheets. Don’t be tempted to simply squeeze behind large pieces of furniture to cut in – it’s a difficult enough job as it is without extra obstacles.
And Finally…
Using an old wooden spoon, stir the paint thoroughly, mixing from the bottom. If you have different tins, use an old container or paint kettle to mix the paints together to avoid any variation.
Then pop on some old clothes, put some music on and you’re ready to go.